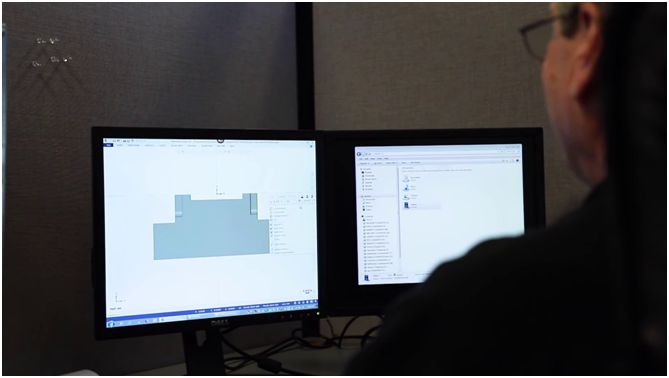
We have already introduced it in the previous video that which configuration is most suitable for our processing needs (click to view). Once confirming the configuration, we can start learning related knowledge and prepare for the upcoming work. Generally speaking We need to set the parameters on the machine to debug the transfer, and we also need to consult professionals in the post -processing of CAM software.
We need to know the names of each axis. In engineering, the degree of freedom of objects can be roughly divided into two ways: rotating freedom and moving freedom. In common 3 axis machining centers, we can see the movement of the workpiece. Because there is no rotating axis in the 3 axis, only the degree of mobile freedom.
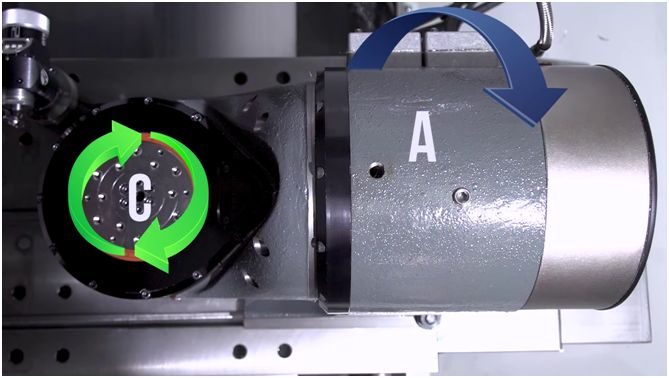
Under the default, we use right -angle coordinate systems (also known as CartesianCoordInate System) to describe their movements and rotation. We call the three straight axes of the movement of the X -axis, Y axis, and Z axis, respectively, and the three rotating shafts around them are called the A, B -axis, and C axis.
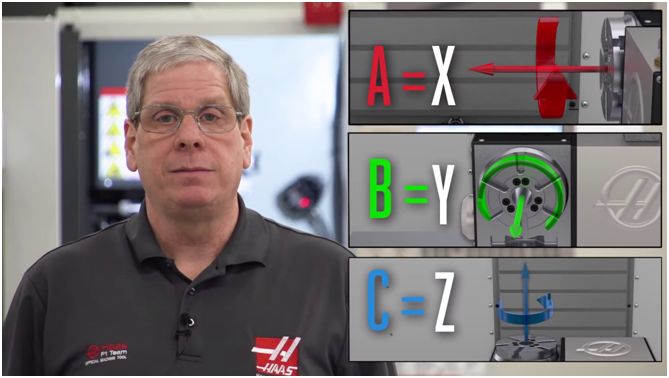
After we figure out the name of the axis, we have to understand the direction of their exercise, which is what we often say + / -! During processing, we default: The workpiece is always static, only the tools are exercising. This is suitable for all the cutting environment. If you can't understand it, you can look at the screen of the surrounding machines and see the corresponding movement direction when each axis is positive or negative.
In this way, when you see "A -90." "C120." Again, you can accurately determine what the machine will do.
Next, start preparing auxiliary tools and debugging tools
Auxiliary tools include:
Clean rags, anti -rust oil, millstone, etc.
Debugging tools include:
The border search, the school table, the wrench for the fastener screw, etc.
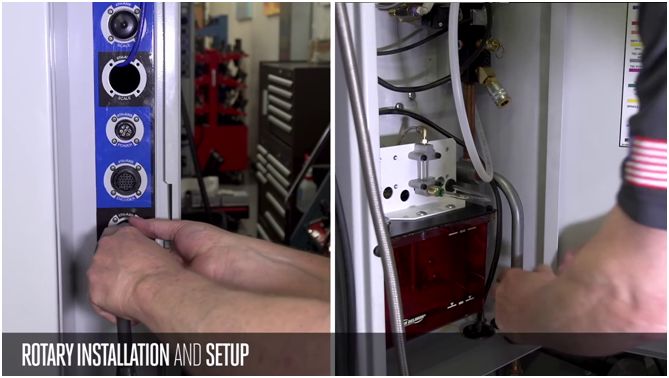
First grind the convex point on the workbench with millstones, then wipe it with a rag, spray rust oil on the workbench, and then hang the turntable to the top of the workbench. Pay attention to the shaking when placing the turning table. Too much shaking may cause the positioning key on the turntable to hit the workbench, then shut down to connect to the trachea and cables of the turntable. After connecting it, restart the machine and start loading the just connected turntable.
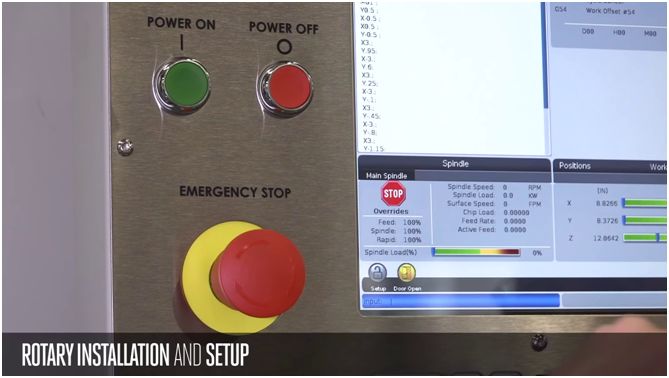
Then we began to define the rotating axis of the turntable; after specifying each axis, press the emergency stop, and then press F3 to activate the settings of each axis. The machine will prompt to restart after the activation is completed ...
You just need to restart according to the prompts.
Then we came to the setting page to set the page, press F4 to turn on the TCPC/DWO function, and then confirm whether the axis that just defined is consistent with the situation in the machine. If the same is the same, you can perform the next operation.
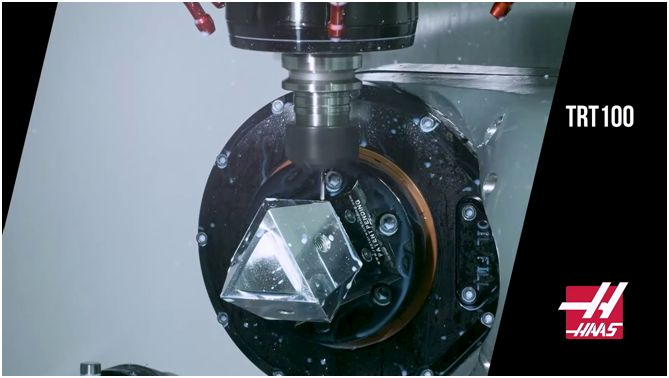
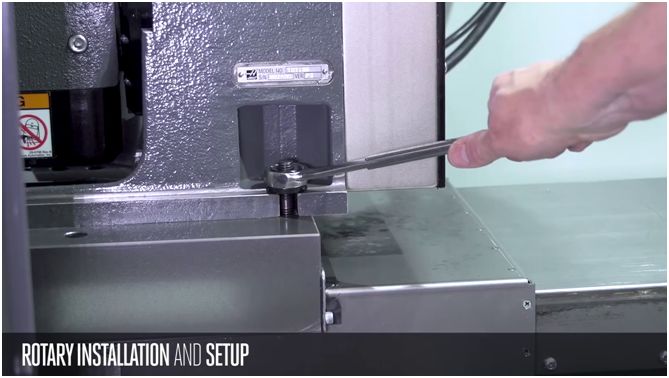
In the next step, we must adjust the position of the turntable. Taking our TRT-100 model, we must first adjust the small turntable to the horizontal position, then set it to the origin of the A shaft, then move the A axis to the position of 90 ° and -90 °, and the small turntable on the turntable tablet. Adjust to parallel with the X axis. After adjusting, we can lock the fastener screw on the table.
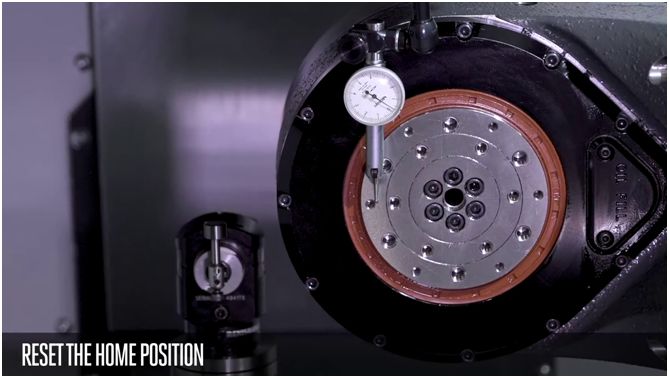
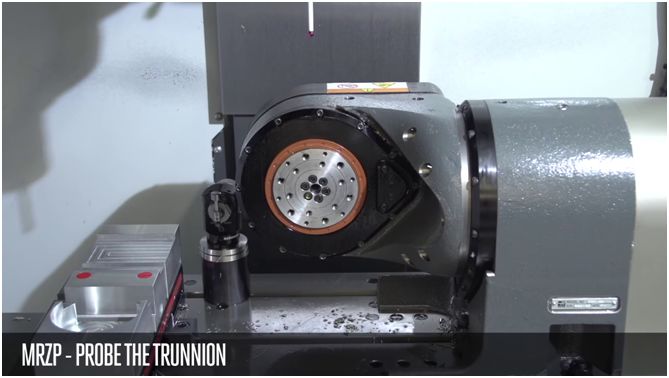
When the machine is not equipped with an automatic detection system, we need to use the side -seeker at this time to find the rotation center of the A axis, and then use the school table to find the rotation center of the C -axis. Then enter the rotating origin coordinate value you just measured in 10300-10305!
If you are equipped with an automatic detection system, you only need to use our latest VPS template. It will automatically detect the position of the rotating center and then enter it in the corresponding variable.
The turntable settings are set and the parameters are set, but the transition is likely to interfere with the knife when changing the knife. At this time, we need to set the knife change point.
For inquiry and quotation of CNC custom service, please contact :
Phone /Wechat/Whatsapp: +86 13612776575
E-mail:sales03@dgmtwj.cn